We may have a need to import additional certificate in Windows Server 2019. In this article, we will demonstrate how to import our self-signed Root CA certificate, which can be used later for the different purposes, like outgoing SSTP VPN or the TLS connection.
Let’s begin!It is very important to place every certificate in the proper store, either for the current user or local machine. The appropriate place depends on the usage scenario. Otherwise, such certificate can be invisible for your application or service.
A word of caution. Check your local laws and regulations relating to security, cryptography, etc. In some countries, using the OpenSSL package, certificates or cryptography can be against the law. In such case, you must stop reading this article and you should not follow any instruction mentioned here. It is solely within your responsibility.
Check this page if you need any additional instructions related to the other platforms.
Installing the certificate
I will assume that you already have the Root CA certificate and the administrative access to your computer.
- We need to download the Root CA file (here named RootCA.crt) somewhere on your machine. I placed mine on the desktop, but any folder will be fine.

- Right-click on this file and choose the option named Install Certificate:

- The Import Certificate Wizard will start. We will choose here the option named Local Machine.

Bear in mind that the correct store location depends on the intended usage scenario. If you need such certificate to confirm the identity of some Web server while using your browser then you need to place it in your User store. Yup, you need to install it for each User independently. For VPNs and other services running on the machine level, you will need to use the Local Machine store. - In case that UAC control is on (and it is always ON, right?), we need to confirm that we want to run this Wizard.
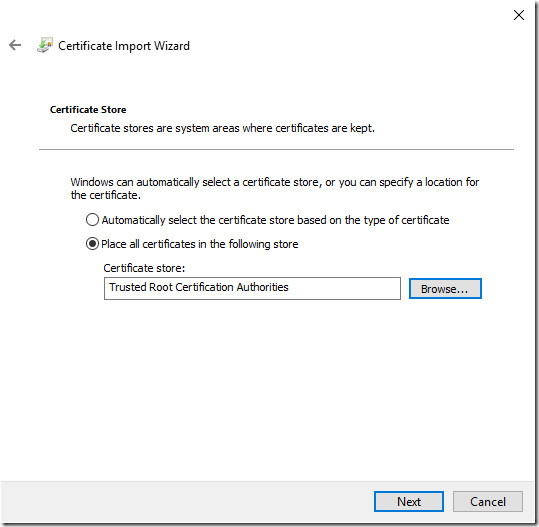
- On the next screen, we need to choose where Wizard will place this certificate. Always choose the option named Place all certificates in the following store

- Now, click on the button named [ Browse… ] and open the new dialog with the store list.

- We will choose Trusted Root Certification Authorities, as this is the Root CA certificate. Don’t click on the option named Show physical stores, as shown on this screenshot. Click on the button [ OK ].
- Check again if the correct store is chosen:

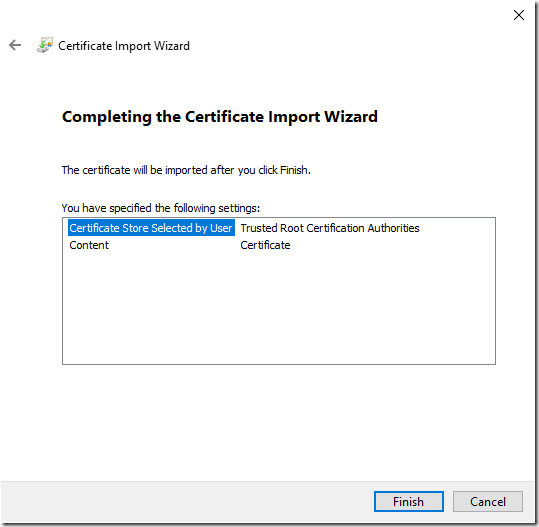
- Now, click on the button [ OK ] and progress to the final window, where you can overview once more all choices. When you’re happy, click on the button [ Finish ].

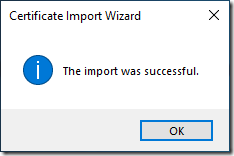
- After a few seconds, the pop up message will appear on the screen. Our certificate is imported.

- As the last step, click on the button [ OK ] and close this dialog window.
Congratulations! Our certificate is ready to be used.
Checking the certificate
We can open the Certificate Manager GUI to find it in the list:

We can now progress to the next step – to use this certificate with any service we need, like SSTP VPN.
Stay tuned.
[…] are similarities with the import process for the Root CA certificate, yet we have here the different certificate format and process. The Root CA certificate is always […]
LikeLike